


On this page
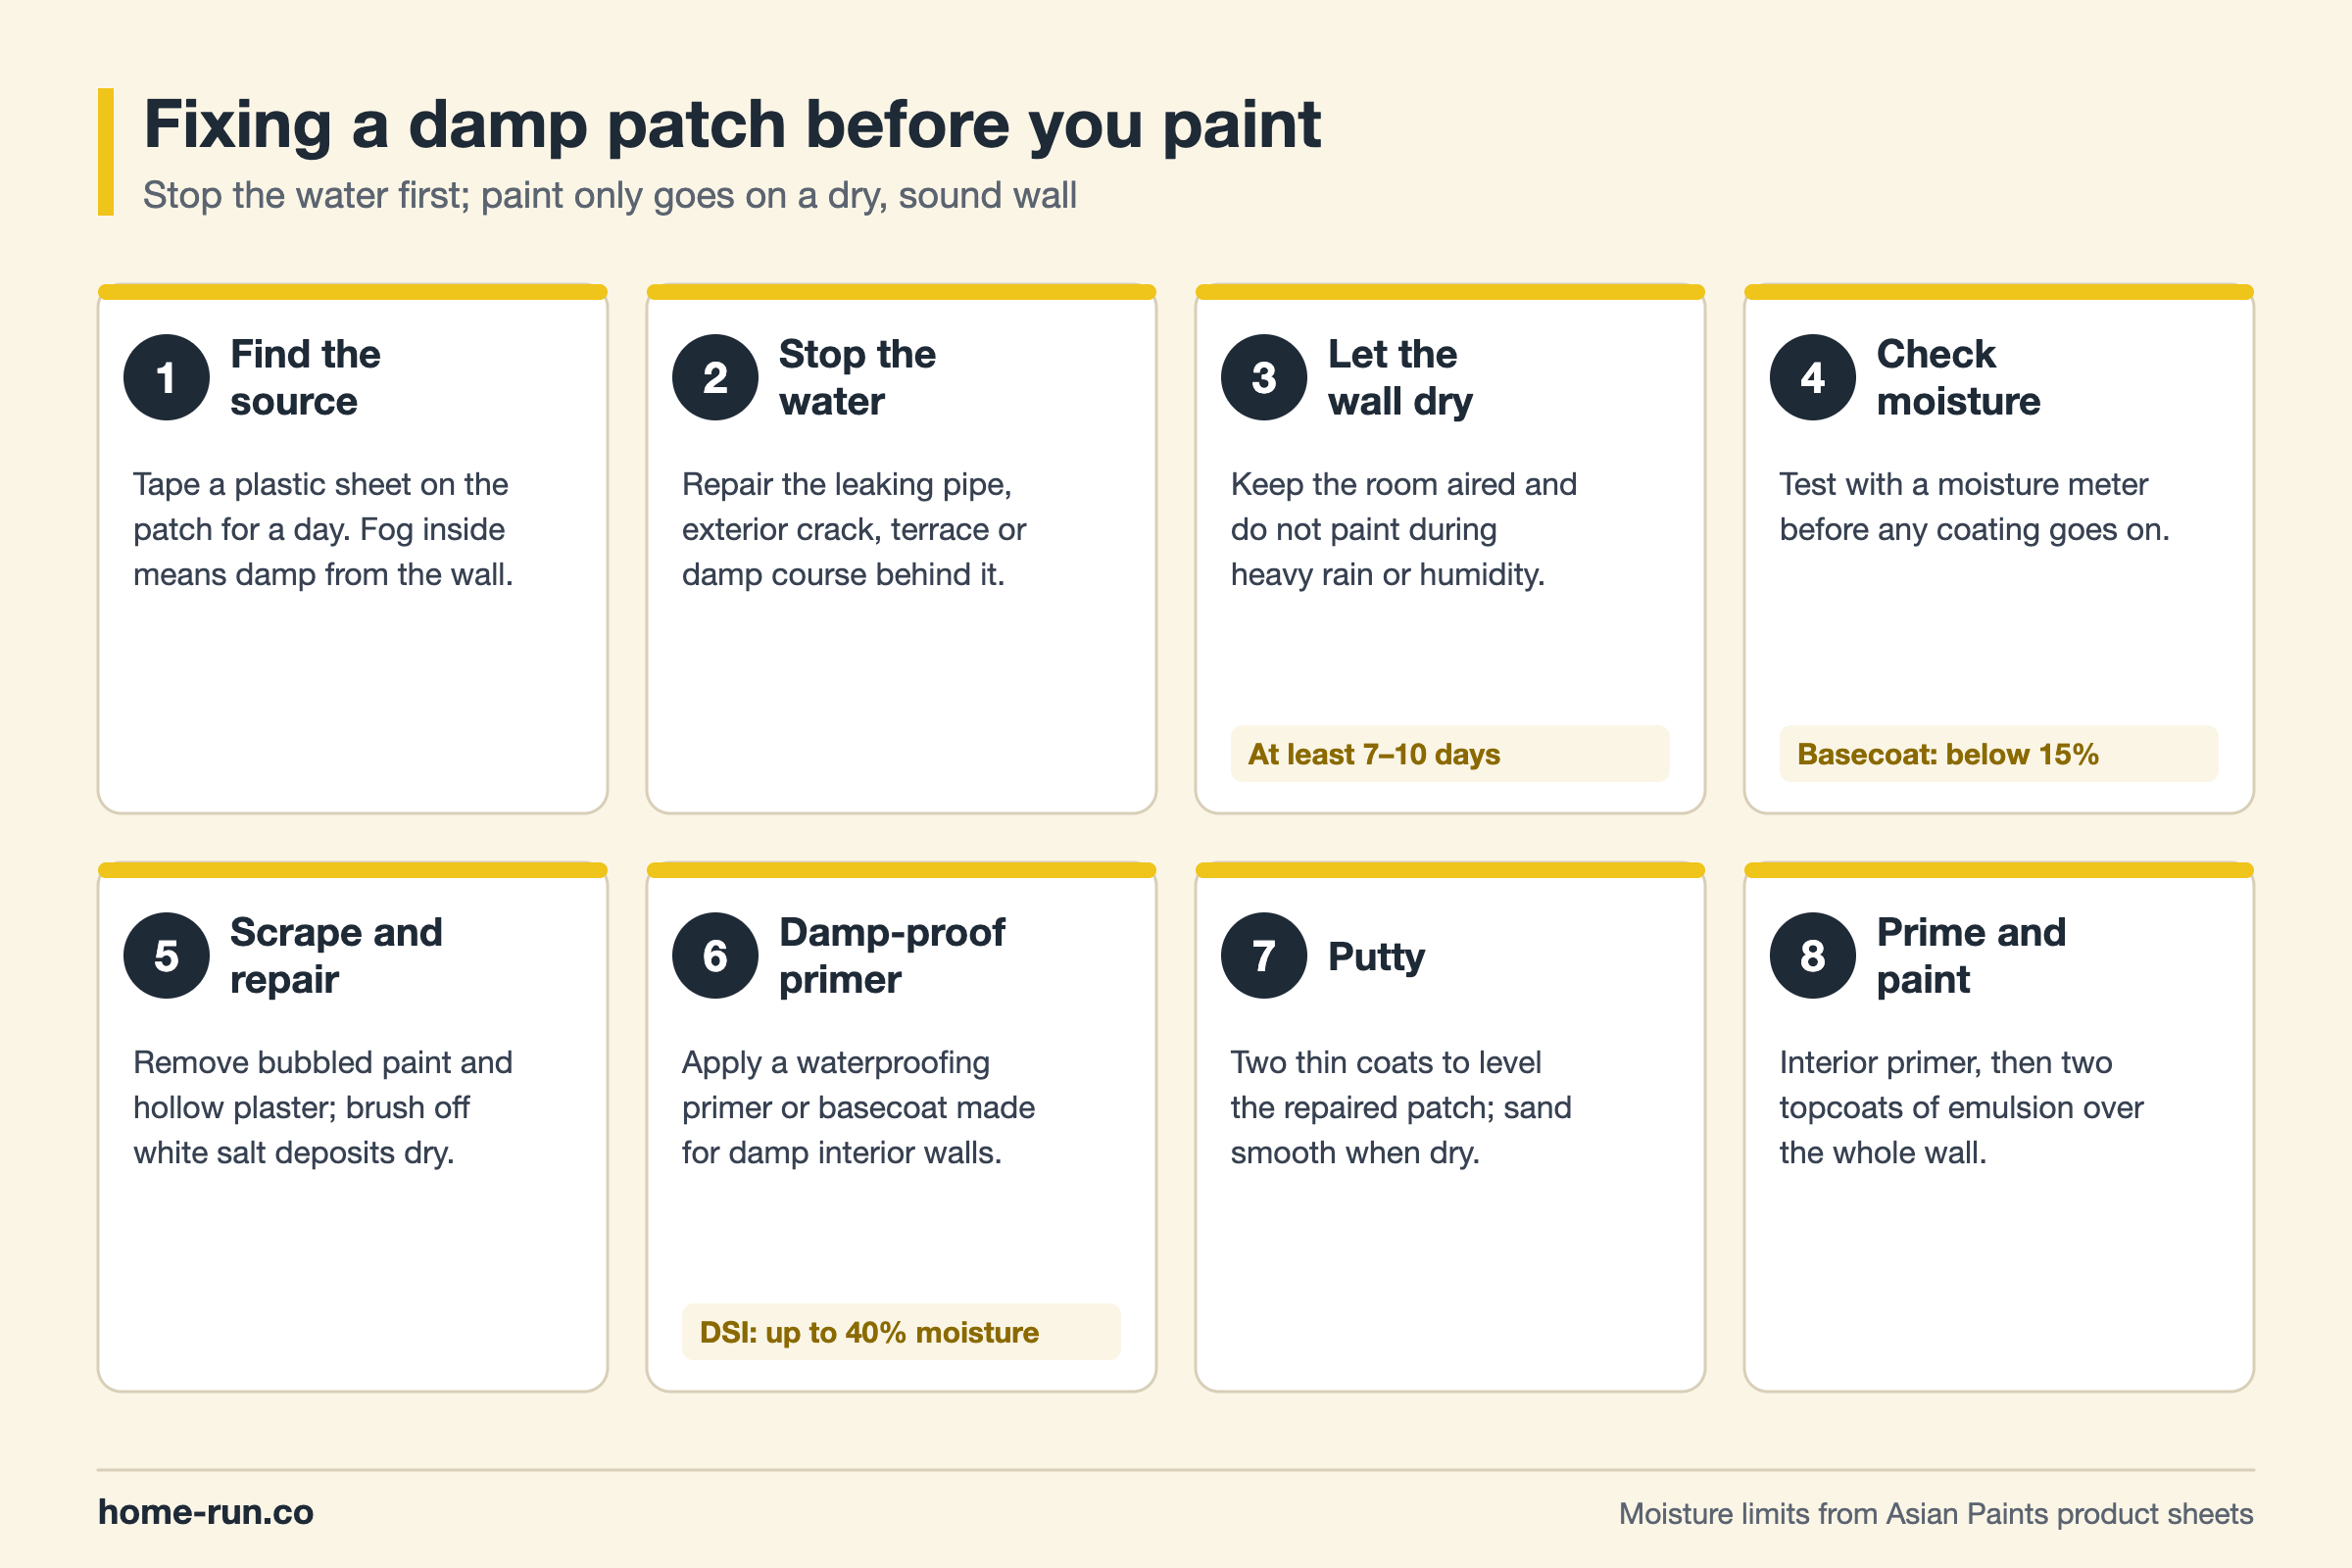
- Damp patches come back through new paint unless you find and stop the water source first.
- Let the wall dry, then check it: Asian Paints asks for below 15% moisture before its Royale Basecoat.
- Damp-proof primers such as SmartCare Damp Sheath Interior work only up to about 40% moisture.
- Scrape off bubbled paint and hollow plaster, prime with a damp-proof coat, putty, then apply two topcoats.
Damp is the top reason new paint peels. Paint only hides it: water behind the film pushes it off as bubbles, flakes and white salt marks within months. To fix damp patches on walls before painting, you find the source, stop the water, let the wall dry to a safe moisture level, and only then seal and repaint.
This guide covers how to confirm a patch is damp, what usually causes it, how long to wait, how to prepare the wall and what the work costs. For the wider picture, see our guide to the causes of wall dampness.
How Do You Know a Patch Is Damp?
A damp patch is darker than the wall around it, often with bubbling or peeling paint, white powdery salt (efflorescence), a musty smell or black mould spots. A stain from an old leak looks similar but stays dry to the touch and does not grow.
Run a simple test before you call anyone. Tape a dry sheet of plastic over the patch and leave it for a day:
- Fog or droplets on the inside (wall side): the damp is coming from within the wall.
- Fog on the outside (room side): it is condensation from the room air.
- No change: the patch may be an old, dry stain that needs only primer and paint.
Painters also use a moisture meter, which reads the wall’s moisture as a percentage. That number decides which product can go on and when.
What Causes Damp Patches Before Painting?
Most damp patches in Indian homes come from one of five sources, and each needs a different fix:
- Leaking pipes: concealed supply or drain lines behind bathroom and kitchen walls.
- Rain seepage: cracks in exterior plaster, open joints and failed sealant around windows. Our water seepage guide explains how to trace it.
- Roof or terrace leaks: damp on top-floor ceilings and the upper parts of walls.
- Rising damp: ground water climbing the base of walls that lack a working damp-proof course.
- Condensation: steam from cooking and bathing settling on cool walls in poorly ventilated rooms.
How Do You Fix the Source of the Damp?
Fix the source first, because no paint or primer stops water that keeps arriving. Match the repair to the cause:
- Leak: get a plumber to pressure-test the concealed lines and repair the faulty joint.
- Exterior cracks: fill them with a crack filler, then apply an exterior waterproof coating. Compare options in our guide to types of waterproofing.
- Roof: waterproof the terrace before treating the walls below it.
- Rising damp: a specialist injects or installs a damp-proof course at the base of the wall.
- Condensation: add exhaust fans and cross ventilation in kitchens and bathrooms.
A waterproof or anti-fungal paint can slow surface mould, but it cannot stop a leak or rising damp. If the source is still active, the patch will return through any coating.
How Long Should a Damp Wall Dry Before Painting?
Allow at least 7 to 10 days of dry weather after the leak is fixed, and longer for walls that stayed wet for weeks or through the monsoon. Keep the room aired while it dries.
Then measure, do not guess. Asian Paints’ product sheets give clear limits:
- Below 15%: safe for Royale Basecoat and normal putty and primer.
- Up to 40%: the limit for SmartCare Damp Sheath Interior, a damp-proof primer for interior walls.
- Above 40%: use a stronger pre-putty waterproofing, such as SmartCare Hydroloc, or wait longer.
Do not paint when the air is very humid either. Asian Paints advises against applying its basecoat when humidity is above 90%, as drying slows and moisture can condense.
How Do You Prepare and Repaint a Damp-Affected Wall?
Once the wall is dry and the source is fixed, repair the damage and rebuild the finish in order:
- Scrape: remove bubbled and flaking paint down to a firm surface.
- Clean salts: brush off white efflorescence with a dry brush; do not wash it back into the wall.
- Repair plaster: cut out hollow plaster and patch it. New plaster needs to cure before painting; see our plastering work guide.
- Damp-proof primer: apply a waterproofing primer made for damp interior walls. Damp Sheath Interior covers about 100 sq ft per litre and can be recoated in 4–6 hours.
- Putty: two thin coats to level the patch; compare acrylic and regular wall putty.
- Paint: interior primer, then two topcoats of emulsion over the whole wall so the repair does not show.
If bubbles appear again after repainting, read our guide to paint bubbling on walls to tell a moisture blister from a preparation fault.
What Does Fixing a Damp Wall Cost?
The cost depends on the cause more than the patch size. A loose pipe joint is a small plumbing job; rising damp or a leaking terrace is a larger waterproofing job. Houseyog’s 2026 guide puts waterproofing in India at ₹25–300 per sq ft, depending on the surface and method.
On top of that, budget for the finish. Houseyog lists two coats of wall putty at about ₹8–13 per sq ft with labour, before primer and paint. Ask for a site inspection and a written quote that separates leak repair, waterproofing, plaster repair and painting.
When Should You Call a Professional?
- The patch returns within one season of repainting.
- White salt keeps blooming after you brush it off.
- Damp sits at the base of several walls, which points to rising damp.
- The patch is spreading on a top-floor ceiling.
- You see cracks wider than a hairline next to the damp area.
In Bengaluru most rain falls between June and November. Fix the source before the rains, and schedule drying and repainting for the dry season so the wall can dry out fully.