

0 items
Rs. 0.00

Please enter Pincode to check delivery time & serviceability
ನಿಮ್ಮ ಕಾರ್ಟ್ಗೆ ಐಟಂ ಸೇರಿಸಲಾಗಿದೆ

 Free Delivery
above ₹1000
Free Delivery
above ₹1000
ಉಪಲಬ್ದವಿದೆ

ಪಿಕಪ್ ಲಭ್ಯತೆಯನ್ನು ಲೋಡ್ ಮಾಡಲು ಸಾಧ್ಯವಾಗಲಿಲ್ಲ
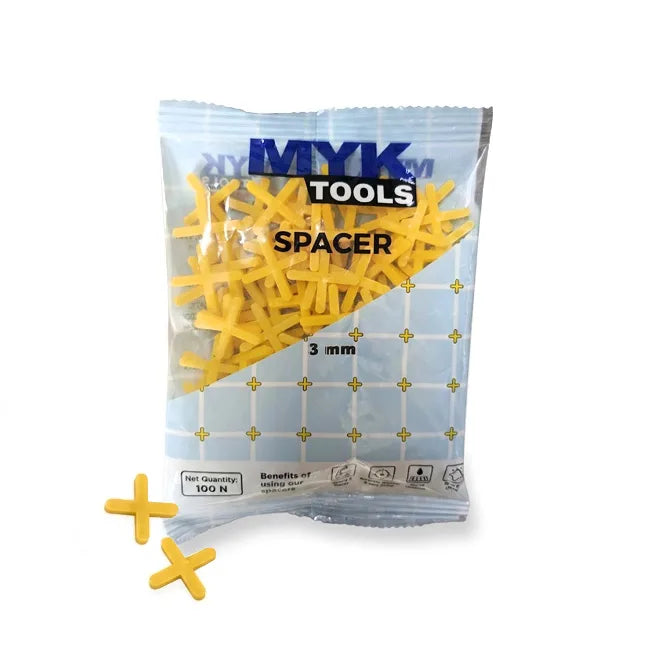
MYK Tools Tile Spacers are precision-moulded cross-profile alignment tools that create consistent, uniform joint gaps between tiles and natural stone during installation. Available in 2mm, 3mm, and 4mm widths, the high-density non-compressing polymer holds tiles in a perfect grid pattern without shifting, accommodating dimensional tolerances and providing joint stability before grouting. Can be used as permanent spacers (left in and grouted over, seated below surface level) or removed after initial adhesive set using the tombstone method.
| Specification | 2mm | 3mm | 4mm |
|---|---|---|---|
| Joint Width | 2mm - very tight, sleek line | 3mm - standard modern tile joint | 4mm - wider joint for ceramic and rustic tiles |
| Best For | Rectified vitrified, interior marble | Modern vitrified tiles - standard recommendation | Ceramic, mosaic wall, rustic outdoor tiles |
| Pack Size | 100 pcs | 100 pcs | 100 pcs |
| Material | High-density polymer | High-density polymer | High-density polymer |
Either method works. If leaving them in, ensure they sit well below the tile surface so grout covers them fully - a visible plastic spacer under grout creates a weak joint. If removing, pull them out after the adhesive has started to set but before it fully hardens, using the tombstone (upright) insertion method for easier extraction.
The size sets the finished grout joint width. 2mm gives a very tight, sleek line suited for rectified vitrified tiles. 3mm is the standard for modern vitrified floor tiles. 4mm suits ceramic wall tiles, mosaic sections, and rustic outdoor tiles where slight size variation between tiles needs to be accommodated.
Yes - the high-density non-compressing polymer is suitable for both floor and wall applications, interior and exterior. On walls, use the tombstone method for easier spacer removal before the adhesive fully sets.
Approximately 4 spacers per tile for a standard cross-joint layout. Estimate total tiles in your area and multiply by 4 for a base quantity, then add 10-15% for wastage and breakage. Your tiling contractor can calculate the exact quantity from the tile size and layout plan.
Only if the spacer is seated well below the tile surface and will be fully covered by grout. Never grout over a spacer arm that protrudes above or flush with the tile face - this creates a weak, uneven joint line and may cause cracking or hollow grout sections over time.
0 items
Rs. 0.00
